How to Removing the Activate Windows Watermark in Windows 10
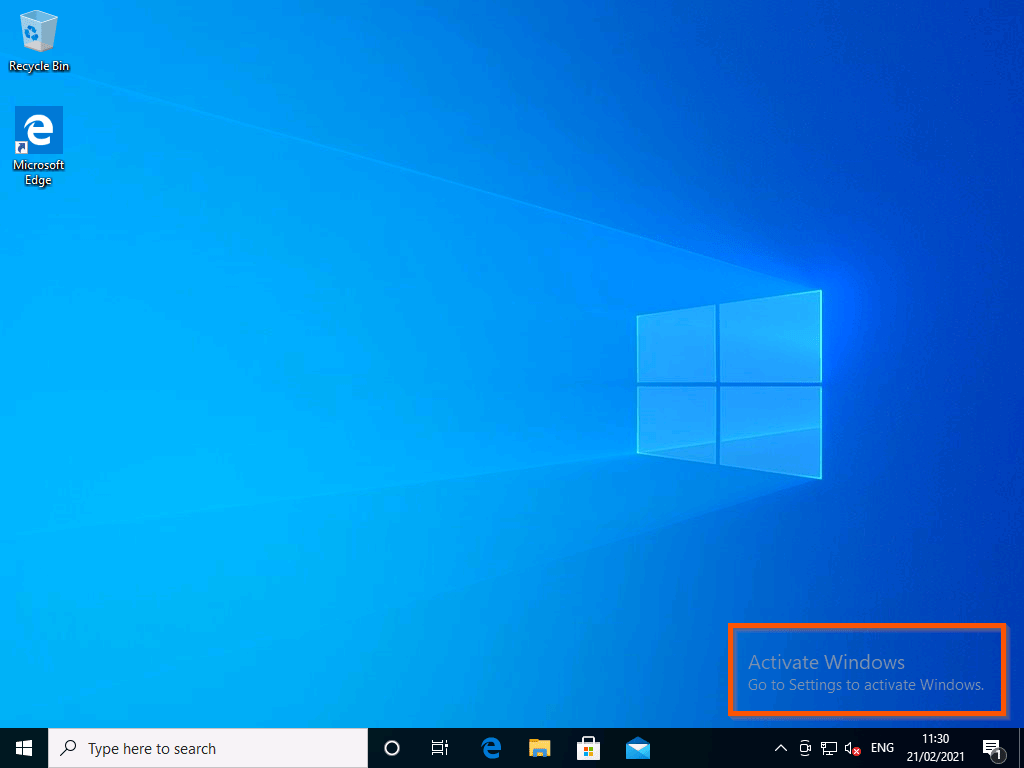
Activating Windows is an essential step to unlock the full potential of your operating system. Without activation, you may experience limitations and pesky watermarks like the “Activate Windows” watermark in Windows 10. While this watermark serves as a reminder to activate your copy of Windows, it can be distracting for some users. In this article, we will explore different methods to get rid of the Activate Windows watermark in Windows 10, allowing you to enjoy a seamless user experience.
Remove Watermark using Registry Editor
If you are unable to activate Windows 10 or you want a temporary solution to remove the Activate Windows watermark, you can make changes to the Windows Registry. Here’s how:
- Open the Run dialog box by pressing the Windows key + R and type “regedit” (without quotes) and hit Enter.
- In the Registry Editor, navigate to the following path: HKEY_CURRENT_USER\Control Panel\Desktop
- Find the “PaintDesktopVersion” entry on the right-hand side.
- Double-click on it and change its value from “1” to “0”.
- Click OK and restart your computer.
Once your computer restarts, the Activate Windows watermark should be gone. However, it’s important to note that this method only hides the watermark temporarily and does not activate Windows.