In today’s digital age, mobile payment apps have become an integral part of our daily lives. One such app that has gained immense popularity in India is Phonepe. While Phonepe makes financial transactions convenient and secure, you might find yourself in a situation where you want to clear your transaction history for privacy or organizational reasons. In this detailed guide, we will walk you through the step-by-step process of how to delete Phonepe history.
How to Delete PhonePe Transaction History :
Step1 : Launch the PhonePe App.
To begin with, turn on your smartphone and press the PhonePe application. To log in if you’re not already, next enter your password or PIN and number. The PhonePe interface and a number of options will now appear on your screen.
Step 2: View Past Transactions
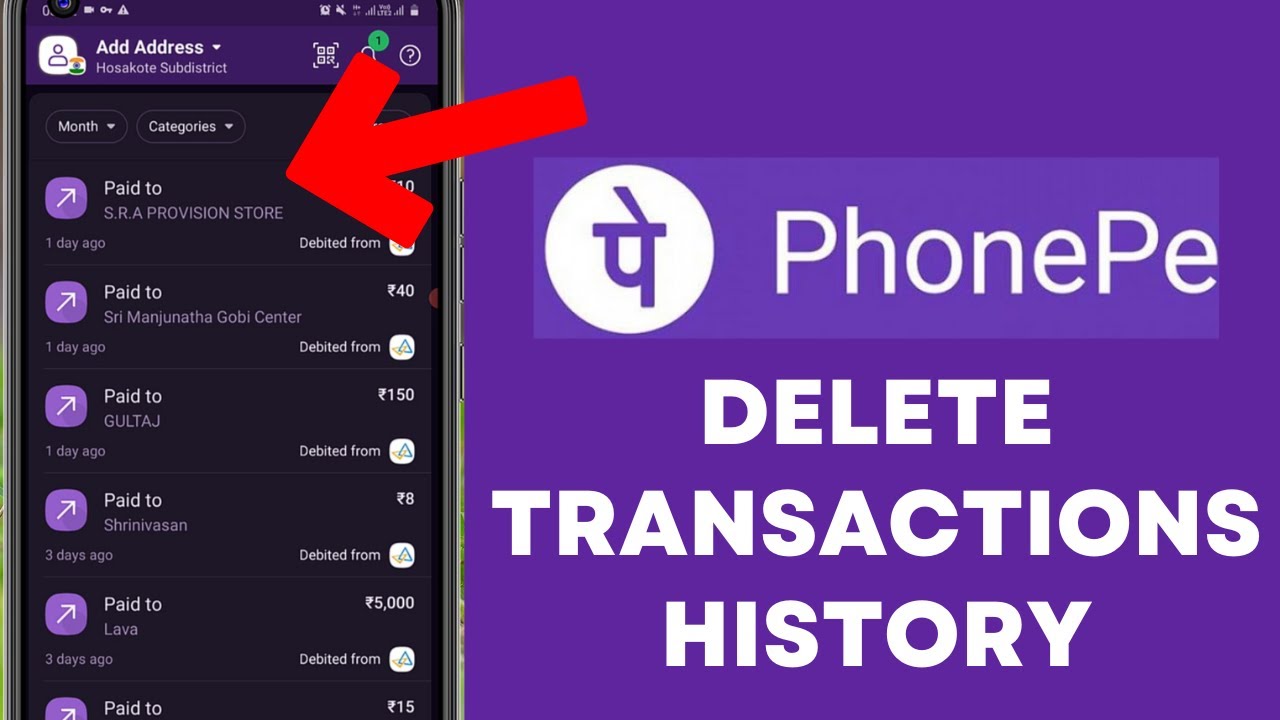
Once the PhonePe app is open on your phone, search for the “history” option in the bottom right corner. You can get a list of all of your previous transaction history by tapping on history.
Step 3: Analyze and Choose the Deal
You can now pick the transactions you wish to remove, and the “delete” option will appear. To confirm the deletion, you can be presented with two “yes” or “no” alternatives or even see a trash symbol. If you wish to proceed with the delete, tap yes.
Step 4: Delete Every Transaction
Should you wish to erase every transaction, simply pick every transaction and hit the “remove all” or “delete all” button. Once again, you might be prompted to confirm your deletion, and you’ll be given the choice to select yes or no when it appears on the screen. If you’re searching for ways to remove PhonePe Transaction History , keep in mind that doing so is always permanent.